
Over the last few years we’ve seen video become an integral part of every marketing strategy. With ongoing advances in consumer video, its also become easier and easier to build a video marketing strategy from the comfort and privacy of one’s own home. There is a time and a place for all types of video marketing, large and small, but it’s tantamount to know and remember that not everything can be successfully accomplished from your living room.
When Do You Call In the Pros?
YouTube Vlogger Casey Naistat (see above) captures almost all of his video using his personal iPhone and a GoPro. For his purposes, these methods work perfectly. The videos don’t look too shabby, and his audience is comprised almost entirely of his YouTube Subscribers. He strives to reach the dreamers and works hard to bring them daily (free) content, occasionally advertising for allied companies or organizations on the side. But it’s important to note that Naistat’s audience has this expectation for his content. Were he to suddenly start making product videos or corporate explainers, his audience might become disinterested and move away from his channel.
In the same way, your professional audience likely has professional expectations for your video content. There are certainly inexpensive ways to capture and share video from your home office, but are you representing your value proposition appropriately by cutting corners to keep things low-budget and in-house?
Embrace the Studio Standard!
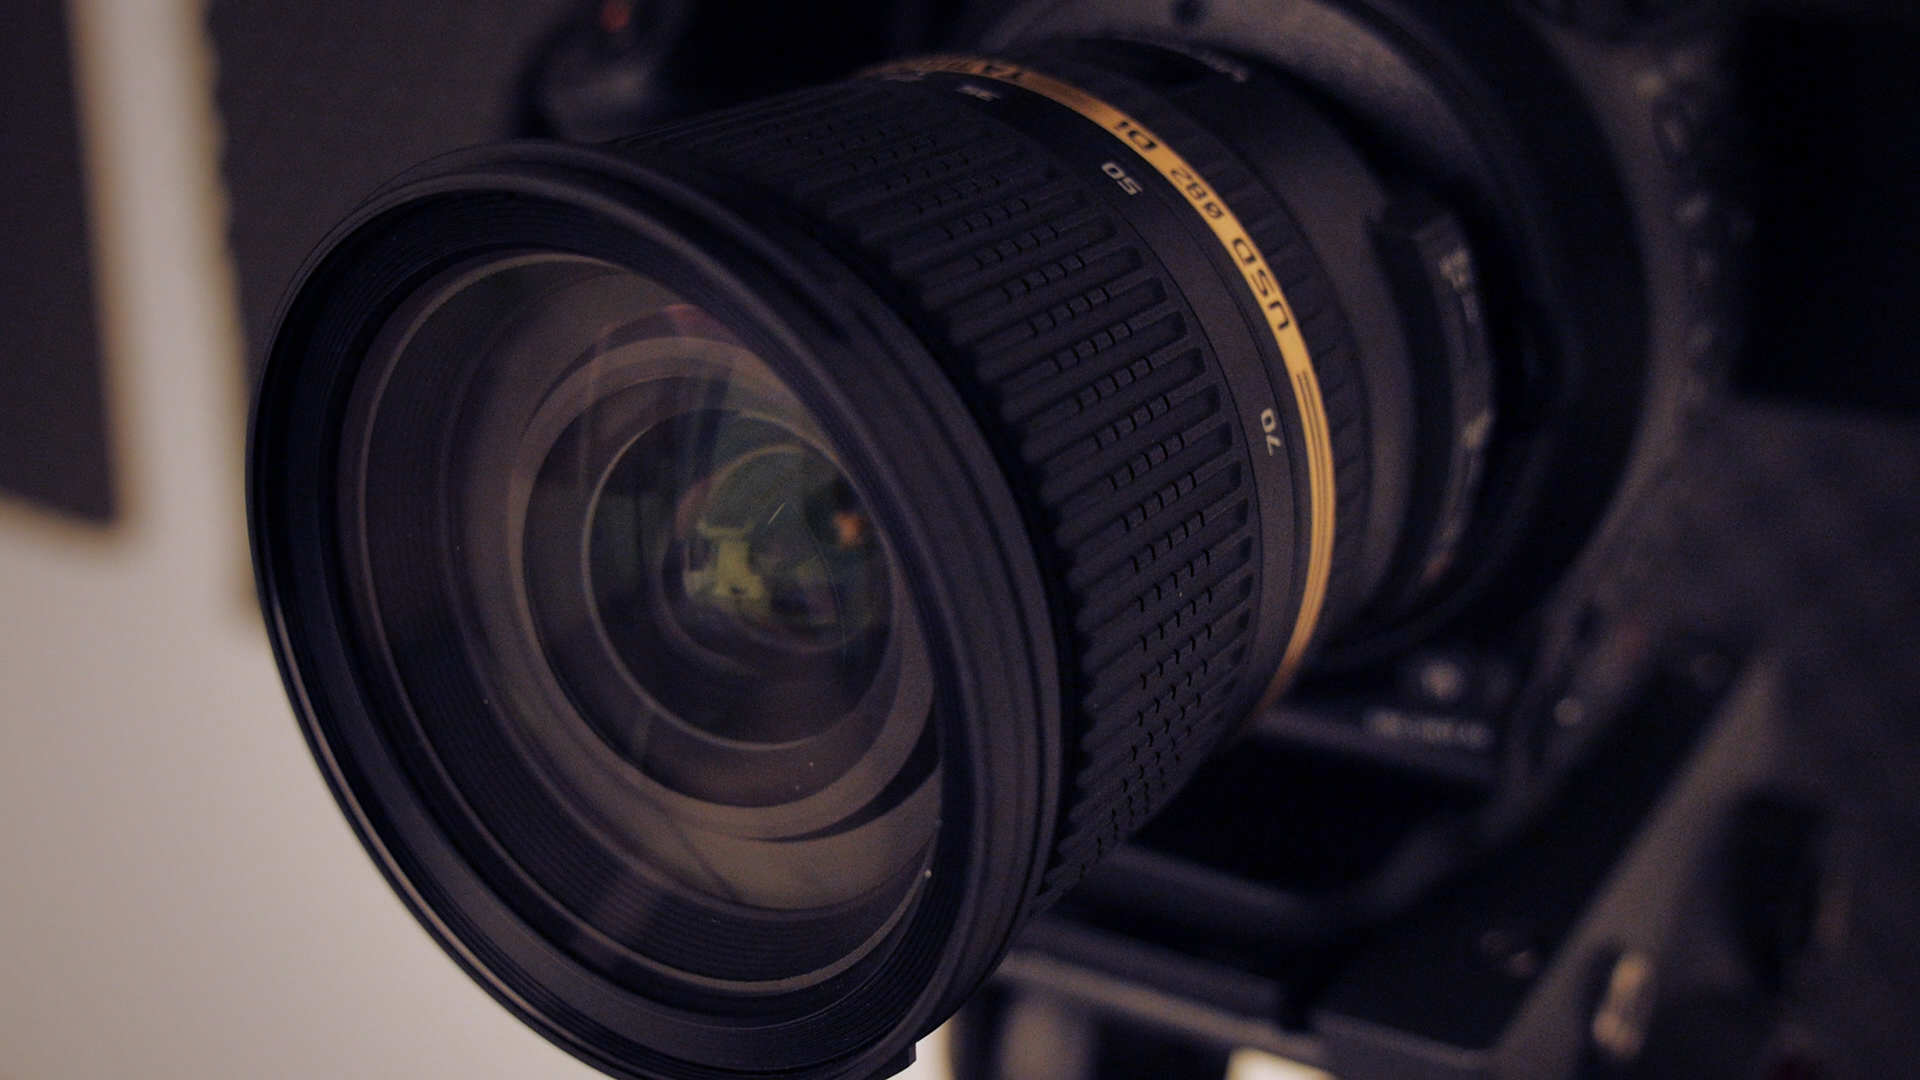
In a Studio Environment, you have absolute control of your presentation. The cameras are always high-grade, the picture is clean, the sound is crisp, and the lighting is always appropriately arranged to create a professional look and feel. Some locations, such as our own Render Studio, can even offer you supporting music and motion graphics to reinforce your message. The projects that you outsource to a professional studio create a noticeably higher standard for your businesses’ more qualified audience; and, as an added bonus, it also infuses the presenter with the confidence.
We live in an age where virtually anyone can create video. But not every type of video creates the same impact. Evaluate your business, and decide which types of content will best resonate with your clients. If you know that a more professional-grade video will be more impressive to your particular audience, then stop hesitating; get out there and start making video content that truly converts.
If you still have any questions or reservations about using video, we’d love to talk to you about it and help to develop a custom video marketing strategy that is perfect for you. Call our office at 410.853.7892 or send us an email via studio@myrender.com, and get started on video marketing today!